First a short note on lathe safety. Modern industrial CNC lathes and machining centers have comprehensive safety systems including guards and light curtains. Hobby and bench lathes are a completely different animal. While a table saw or band saw will take off fingers, carelessness with a lathe will kill you. Do not wear long sleeves or jewelry to include rings, bracelets, wristwatches, or necklaces. Do not wear gloves. Do not wear a tie, Bolo, or scarf. Tie your hair back if it’s long. Do not wrap crocus or emery cloth around your fingers to polish a moving part. If you’ve had a drink, put off the lathe work until tomorrow. Operating a lathe requires continuous attention, concentration, and clear judgement. If you are interrupted or distracted, disengage the feed and step away from the lathe before turning to address the issue.
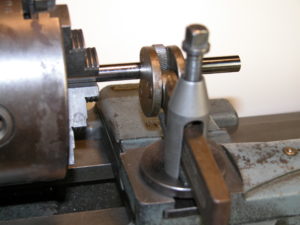
Knurling on a lathe is usually performed with a push type toothed roller tool as shown in figure 1. The tool is pushed into the rotating part using the cross-slide. This works fairly well on 12 – 14 inch and larger lathes. Scaled down versions are traditionally supplied with smaller 6 and 7 inch lathes. Figure 1 illustrates the tool supplied with the 6 inch Atlas lathe. Using Atlas as an example, the 6 inch lathe looks just like the 12 inch, only scaled down. The problem here is that a 6 inch lathe is not adequate to press regular knurls into harder materials like steel or brass. The lantern tool holder and the cross-slide are simply not strong enough. While it looks like it ought to work, for proportional cross sections, a 12 inch lathe is 8 times stiffer and stronger in bending and 16 times stiffer and stronger in twisting than a 6 inch. On YouTube, mrpete222 (tubalcain) has videos (#333-#336 ) about making a new 6 inch Atlas cross-slide to replace a broken one that obviously had too much force applied to the tool post. I speak as someone who has broken a 6 inch Atlas/Craftsman lantern, although not while knurling. The one in figure 1 is a slightly beefed up O1 replacement tempered to RC50.
Another problem with push type knurlers is that the stock has to be strong enough to resist bending under the knurling force and may need to be supported with a live center or steady rest.
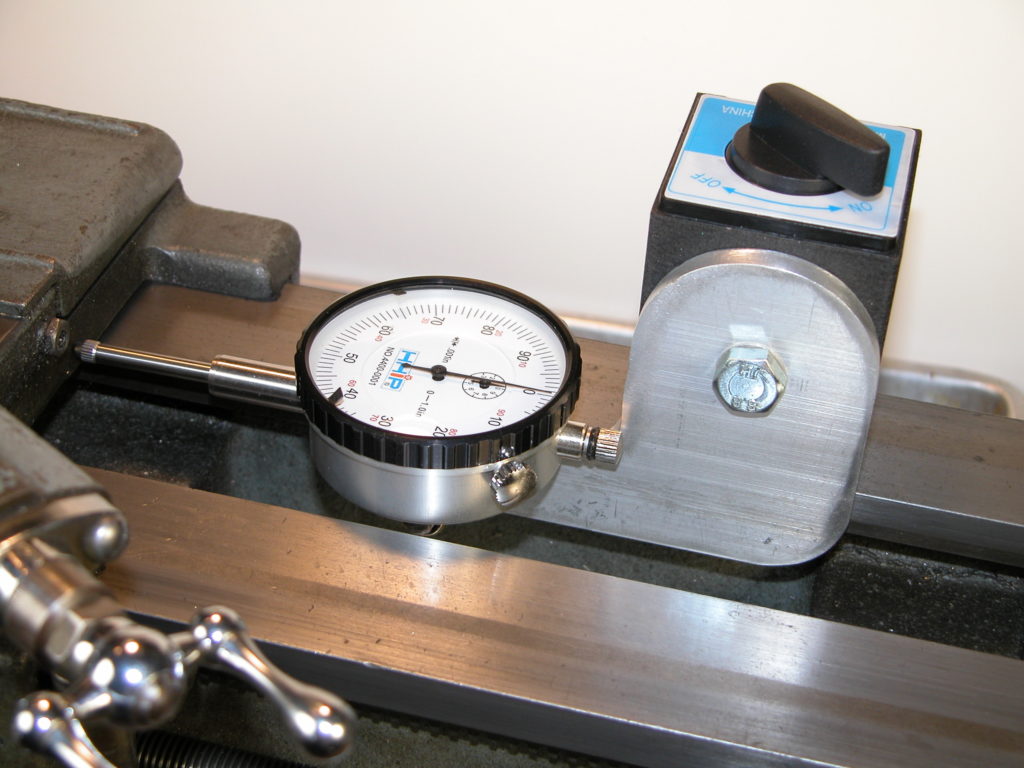
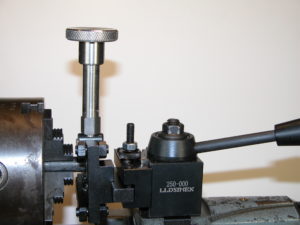
A solution to both problems is the pinch style knurler shown in figure 2. In this style the part is trapped between an upper and lower roller. Depending upon the model, the diameter is adjustable from 1 or 2 inches down to zero. Since all the knurl force is due to the pinch between rollers there are no unbalanced forces against the work piece or the tool holder. This allows knurls on unsupported long parts without difficulty. The cross-slide simply centers the knurl wheels on the part and the carriage travel is used to make longer knurls. As a result deep knurls on steel are easily produced even on the smallest lathes. The remaining difficulty is that to start the knurl, the work piece needs to be turning while the clamping knob is tightened to the desired depth. On short parts to be knurled near the chuck the small clearance between the spinning chuck and the hand adjust knob creates a major safety problem. Figure 2 shows a stock tool.
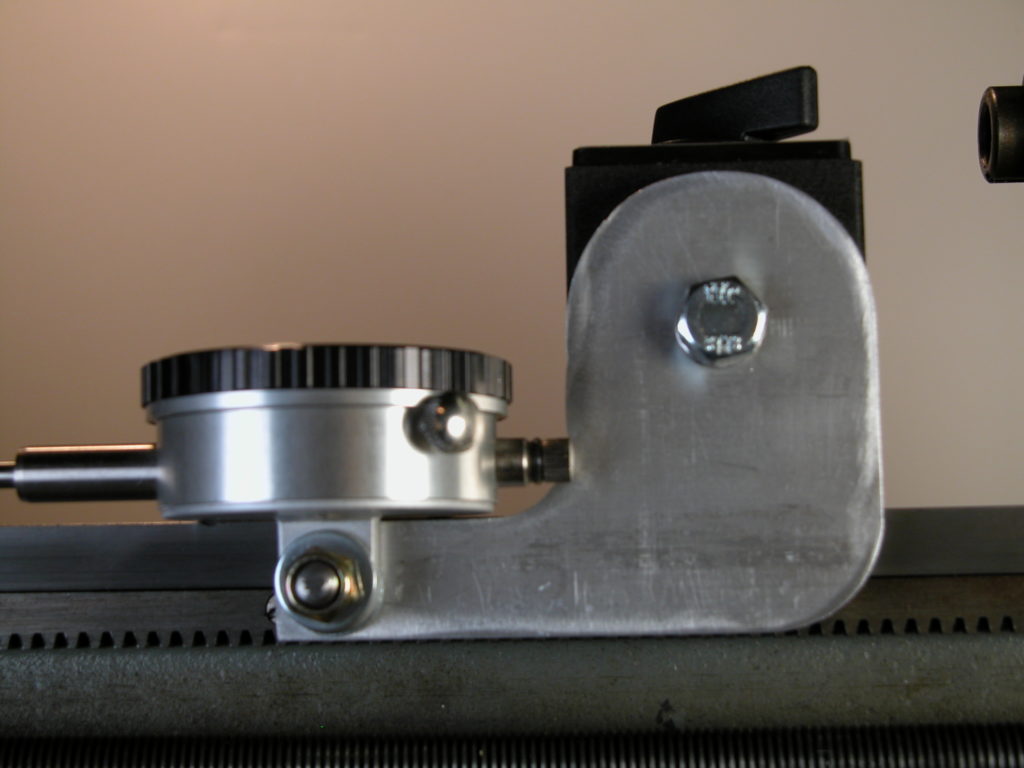
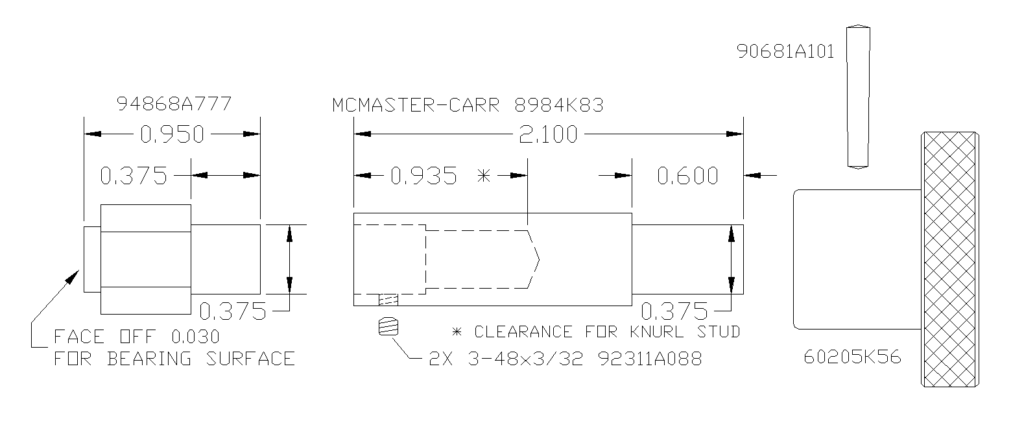
Here is the solution I came up with for my lathe. A 3 inch extension of the clamp knob moves my hand far enough from the chuck for comfort. I am not suggesting that you do this, just reporting on my solution to a perceived hazard.
I used a through tapped spacer from McMaster-Carr for the thread as I didn’t have a deep hole M6 tap and didn’t feel like counter boring all the way from the top.
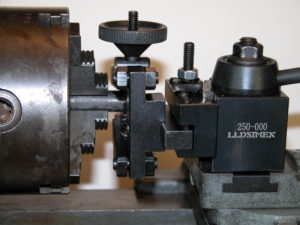
This is pretty mundane but now there’s one less thing for me to worry about. By the way, the 0XA quick change tool holder as shown works well on the Atlas 6 inch. Cutoffs are WAY better. You will need to cut rabbets on the plate that comes with the tool holder as can be seen in figure 2. A single piece of steel the thickness of the T-slot is not strong enough for a solid tool holder lock-down. It flexes and doesn’t have enough thread engagement.
Please leave comments using the post in my comments category.